Tide Times for Rock Pooling: How to Find the Safest Low-Water Window
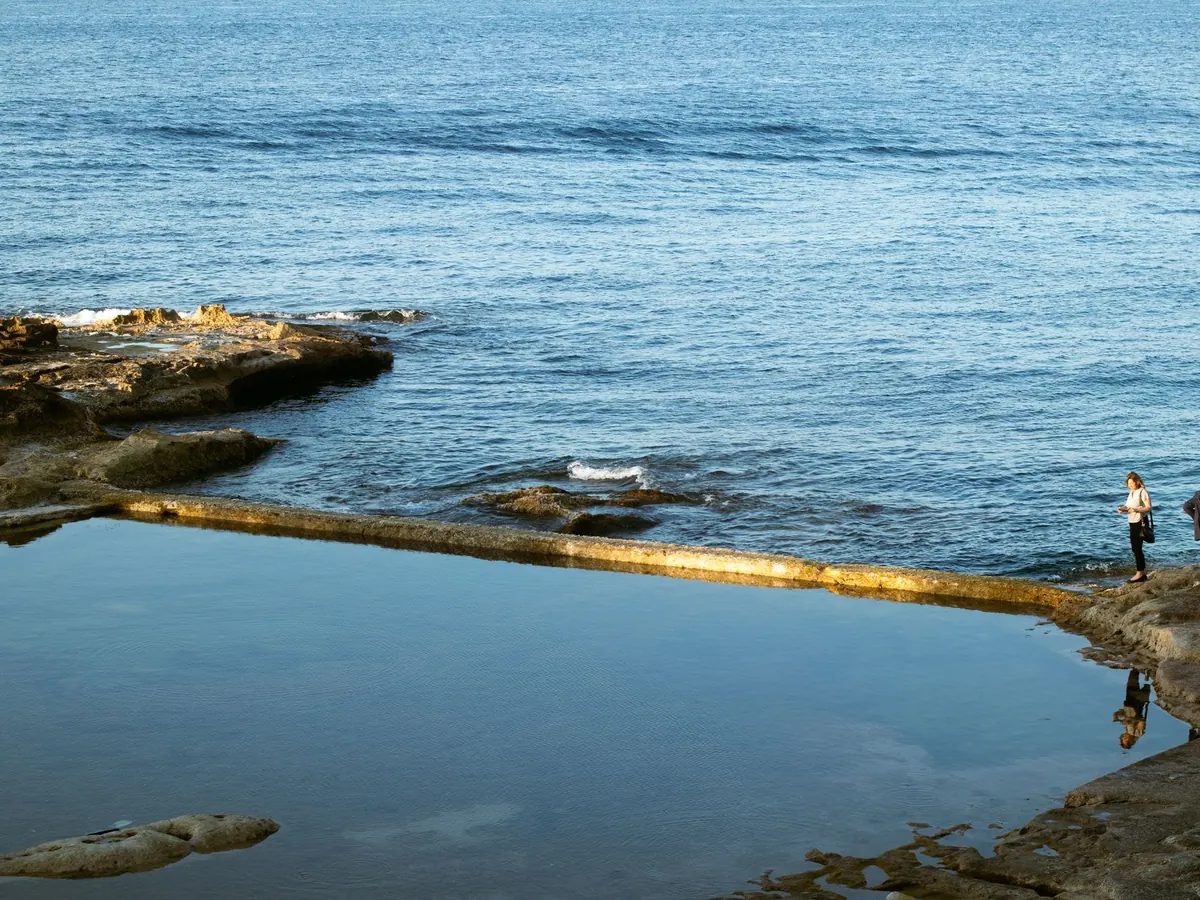
On a good shore, the rock pooling window is short. The lowest and richest pools — the ones with the beadlet anemones, the blennies, the crabs worth crouching over for ten minutes — are only uncovered near low water. Arrive too early and you are looking at barnacles and bladderwrack. Stay too long and the sea quietly reorganises your afternoon. Getting the window right is mostly about tide tables, a little local knowledge, and being honest about how quickly the water comes back.
Plenty of people check the low-water time, turn up at it, and wonder why the tide is already coming in. The low-water time is the turning point, not the start of the session. The best of the tide is the ebb — the hour or two before low water, when the sea is still pulling back and each minute uncovers more shore.
The shape of a sensible trip looks like this. Arrive about two hours before low water. Work your way down the shore as the water drains, exploring the middle zone first and saving the lowest pools for the last half hour. At low water, turn around and head back up. Aim to be at your exit point within thirty to forty-five minutes of low water, and earlier on a big spring tide or when there is any swell running.
There is a reason for the buffer. Slack water around low is the calmest the sea gets, and the last shallow pools stop draining. It is tempting territory. But the flood starts gently and finishes quickly, and the water will reach the pools you are crouching beside well before it reaches the path you came down.
Pick the nearest standard port to your shore, then work through the day properly rather than glancing at the first number you see.
Remember that the tide runs on a cycle of about 12 hours 25 minutes, so low water drifts roughly fifty minutes later each day. If today's low falls at dusk, tomorrow's falls after dark.
Spring tides give the biggest range, the lowest low waters and the best exposure. They also move more water, faster, and can turn a sheltered shore into a livelier one. Neap tides are gentler but leave the lower shore covered, so the good pools stay out of reach.
Between low and high water, the level rises in twelfths: roughly one twelfth in the first hour, two in the second, three in the third, three in the fourth, two in the fifth and one in the sixth. In plain terms, the first hour of the flood is slow and the middle hours are quick. That is why people get caught out three hours after low water, not one.
The rule is a rough shape, not a measurement, and it says nothing about how far the waterline travels sideways. On a shallow, gently shelving shore a small rise in height can move the edge of the sea several metres up the beach.
Set a hard turnaround time on your phone alarm and treat it as non-negotiable. Pick a landmark you can see from the pools — a boulder, a post, the top of the slipway — so you can judge your position without squinting at a screen.
On the way back, retrace your route rather than exploring new ground. It is usually faster and always more predictable. If a gully is already running with water, go up rather than along it. And if you do end up cut off, stay high on dry rock and call for help — in the UK, dial 999 and ask for the Coastguard. Do not swim for it unless you have no other option and someone knows where you are.
Take photographs rather than specimens, turn rocks back the way you found them, and check whether your shore sits inside a protected site such as an SSSI or marine protected area, where collecting may be restricted. Wash your hands before eating, and leave anything you cannot identify well alone. The pools will still be there next low water, and so will you.
Photo: Jose David / Pexels
Previous Post
Spring vs Neap Tides: What They Mean for Beach Days and Boat Launches
Next Post
A Coastal Walk Checklist: 10 Things to Check Before You Set Off